


Bay window installation is the process of adding a multi-panel window assembly that projects outward from a home’s exterior wall, creating a recessed interior alcove with increased natural light and usable floor space. Unlike a standard window swap, this project involves structural changes to your wall framing, custom roofing above the unit, and precise sealing to protect your home long term. Homeowners in Massachusetts and Rhode Island who understand what is a bay window installation before starting avoid the most common and costly mistakes. This guide covers every stage: window types, installation steps, structural requirements, costs, and design ideas.
What is a bay window installation, exactly?
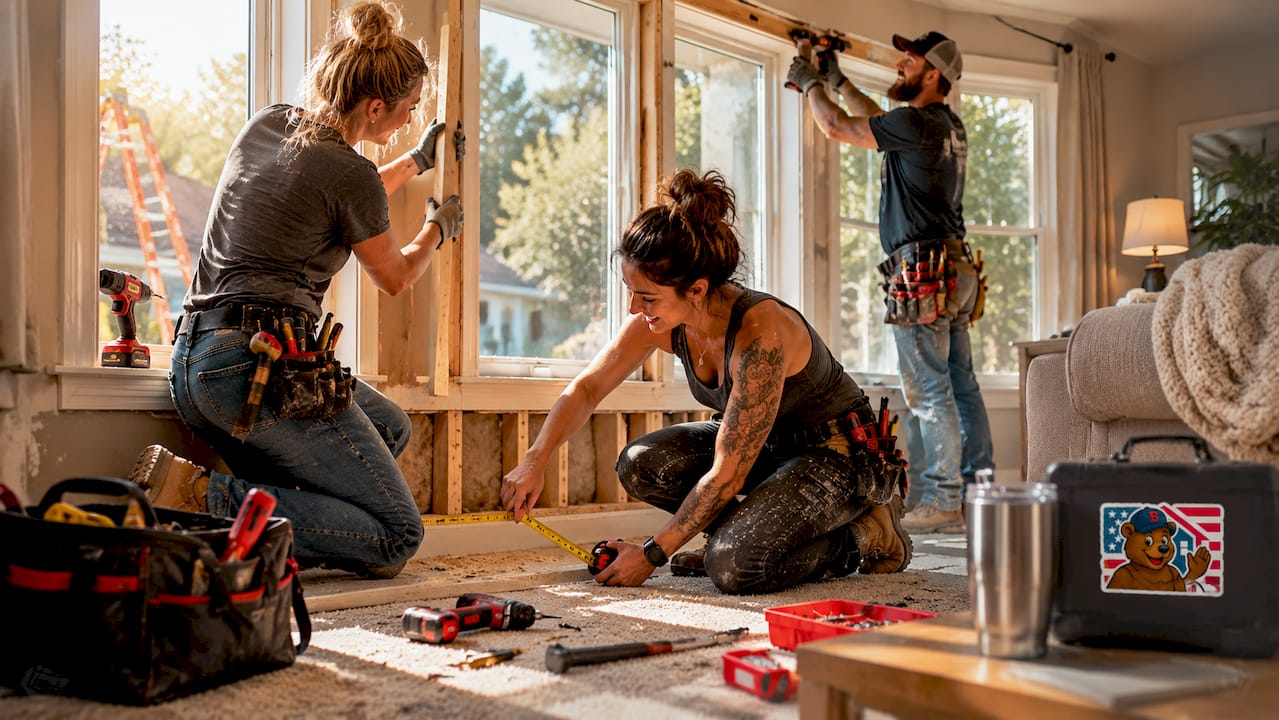
A bay window installation is not a simple replacement. Replacing a flat window with a bay window is a major transformation that requires removing the existing opening, building new structural bases, and constructing a custom insulated roof over the projecting unit. The wall must be opened wider and taller than the original window, new framing must be built to carry the load, and the exterior must be finished with flashing, trim, and roofing. Most homeowners are surprised by how much structural work is involved before the window unit even arrives on site.
The term “bay window” refers specifically to a window group that angles outward from the wall plane, typically at 30, 45, or 90 degrees on the side panels. The industry also uses the term “bay window system” to describe the full assembly: the window unit, the structural framing beneath it, and the roof above it. All three components must work together for the installation to perform correctly.
What are the different types of bay windows?
Bay windows come in several configurations, and choosing the right one affects both your installation complexity and your finished look.
The standard three-panel bay is the most common. It features a large fixed or double-hung center window flanked by two angled side windows, typically set at 30 or 45 degrees. This configuration suits most residential walls and delivers a classic exterior profile.
Bay window vs. bow window is the comparison most homeowners face. A bow window uses four or more equal-sized panels arranged in a gentle curve, producing a more panoramic view and a softer exterior silhouette. Bay windows project more sharply and create a deeper interior alcove. Bow windows admit more total light; bay windows create more defined interior space.
| Feature | Bay Window | Bow Window |
|---|---|---|
| Panel count | 3 panels | 4–6 panels |
| Projection shape | Angled (30–45°) | Curved |
| Interior alcove depth | Deeper | Shallower |
| Natural light volume | Moderate | Higher |
| Installation complexity | High | Very high |
| Best use | Defined seating nook | Panoramic view wall |
Material choices shape both durability and cost. uPVC (unplasticized polyvinyl chloride) is the most affordable and lowest maintenance option. Aluminum offers a slimmer frame profile and suits contemporary homes. Fiberglass is the premium choice: fiberglass window materials deliver a 30–50+ year lifespan with strong resistance to warping and cracking, making them the best long-term investment for New England’s freeze-thaw climate.
- uPVC: affordable, low maintenance, good thermal performance
- Aluminum: slim frames, strong, suits modern aesthetics
- Fiberglass: longest lifespan, best dimensional stability, highest cost
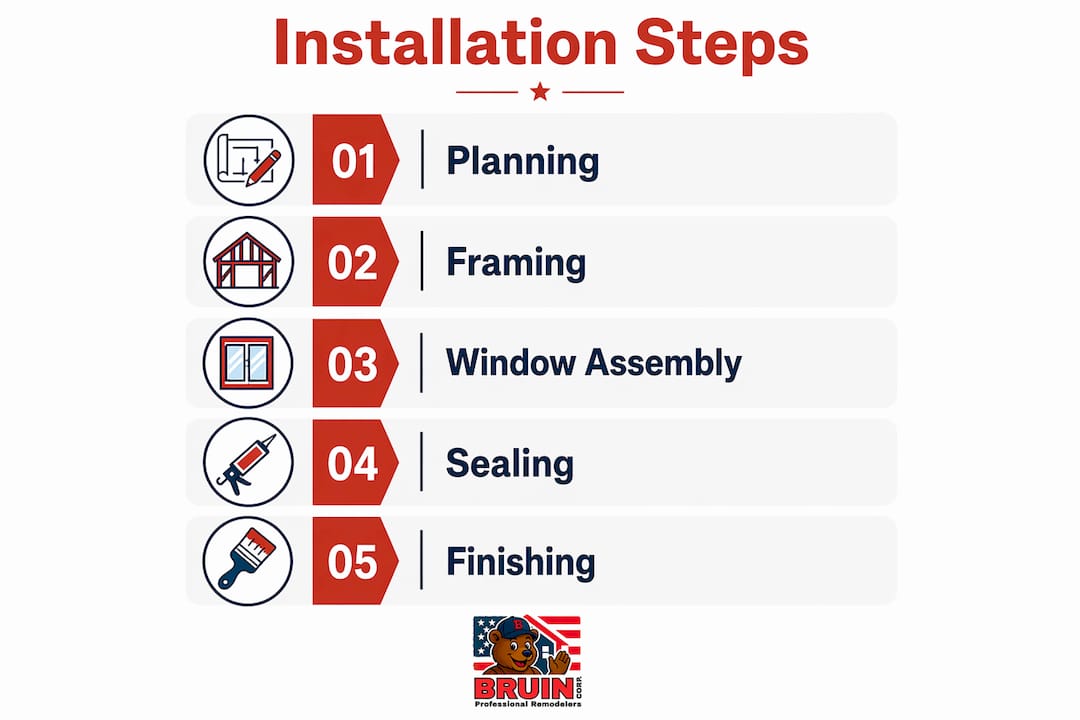
How does the bay window installation process work?
Installing a bay window follows a defined sequence. Skipping or rushing any step creates problems that show up months or years later.
-
Site assessment. Before ordering a unit, a qualified installer checks the wall for plumbing, gas lines, and electrical runs. Careful site assessment confirms the wall can physically support the structure and that no hidden obstructions exist.
-
Removing the existing window and expanding the opening. The old window comes out first. The rough opening is then widened and heightened to match the bay unit’s dimensions. This step generates significant debris and exposes the interior to weather, so scheduling matters.
-
Framing with king studs, jack studs, and a load-bearing header. New vertical framing members (king and jack studs) are installed on each side of the expanded opening. A load-bearing header, built in a layered “club sandwich” assembly of lumber and structural spacers, spans the top of the opening to spread the window’s weight and prevent wall bulging.
-
Installing support below the unit. Bay windows need support underneath as well as above. Bay pole jacks or a cantilevered floor framing system carry the weight of the projecting unit from below.
-
Hoisting the window unit. A typical bay window unit weighs up to 150 pounds, requiring at least two helpers for safe lifting and positioning. The unit is set into the rough opening, leveled, plumbed, and temporarily braced before permanent fastening.
-
Building the custom roof. A hip roof with specific rafters is framed directly over the projecting bay. This is often the most technically demanding part of the entire project. The roof pitch must match or complement the main roof, and every rafter cut must be precise to avoid gaps.
-
Flashing and sealing. Metal flashing is installed at every joint where the bay roof meets the main wall. Proper sealing and flashing at all edges is what separates a professional installation from one that fails within five years. Caulk alone is not sufficient.
-
Interior and exterior finishing. Interior trim, a window seat base or apron, and drywall patching complete the inside. Exterior siding or brick molding is matched to the existing facade.
Pro Tip: Order your window unit only after the rough opening is framed and measured. Factory-built bay units have fixed dimensions, and even a half-inch discrepancy creates costly delays.
What structural and safety factors matter most?
Structural integrity is the single biggest variable in bay window projects. Proper structural supports like bay pole jacks or steel-reinforced headers are not optional. Without them, the roof above the bay can sag, masonry can crack, and the wall can bow outward over time.
The risks of cutting corners are specific and serious:
- Sagging roofline above the bay caused by undersized headers
- Water intrusion through improperly flashed joints, leading to hidden rot inside the wall cavity
- Masonry cracking on brick homes where the lintel above the opening is not properly supported
- Wall racking if the framing is not tied back to the main structure correctly
“Homeowners often underestimate the complexity and weight involved. Professional assistance significantly reduces risk and ensures structural integrity.” — Perfect Windows and Siding
Planning permission is another factor many homeowners overlook. Formal planning permission is usually required for new front-facing bay windows, particularly in historic districts or conservation areas. A like-for-like replacement of an existing bay typically does not require a permit, but adding a new bay to a flat wall almost always does. Check with your local building department before any work begins.
You should also check whether your home’s wall is load-bearing before expanding any opening. On load-bearing walls, temporary shoring must support the structure above while the header is installed. Skipping this step risks ceiling collapse.
What are the benefits and drawbacks of bay windows?
Bay windows deliver real, measurable advantages. They also come with trade-offs worth understanding before you commit.
Benefits:
- More interior space. The projecting alcove adds functional square footage, even if it does not count toward official square footage calculations.
- More natural light. Three angled panels capture light from multiple directions throughout the day.
- Cross-ventilation. Bay windows improve indoor comfort by enabling airflow through different sides of the window when panels are opened at different angles.
- Curb appeal and resale value. A well-installed bay window improves the exterior profile of a home and is a recognized selling point in the Massachusetts and Rhode Island markets.
- Design flexibility. The interior alcove works as a window seat, a reading nook, a breakfast area, or a display shelf.
Drawbacks:
- Higher cost and complexity than a standard window replacement
- Less panoramic light than a bow window of equivalent width
- Not suitable for every wall type, particularly narrow walls or walls with structural constraints
- Requires ongoing maintenance of the exterior roof and flashing
Pro Tip: If your primary goal is maximum natural light, consider a bow window instead. If your goal is a defined interior nook with strong curb appeal, a bay window is the better choice.
How much does bay window installation cost?
Cost depends on material, size, and the extent of structural work required. The window unit itself is only part of the total budget.
| Cost Factor | Lower Range | Higher Range |
|---|---|---|
| uPVC bay window unit | $1,800 | $3,200 |
| Aluminum bay window unit | $3,000 | $5,500 |
| Fiberglass bay window unit | $4,500 | $8,000+ |
| Structural framing and header | $800 | $2,000 |
| Custom roof framing | $1,200 | $3,500 |
| Flashing, sealing, and trim | $400 | $1,200 |
Note: Ranges reflect U.S. market estimates for 2026. Final costs vary by region, contractor, and project scope.
Labor costs rise sharply when structural work is extensive. Expanding a load-bearing wall opening, adding temporary shoring, and building a custom hip roof all add time and skilled labor to the project. A straightforward bay window addition on a non-load-bearing wall costs significantly less than one requiring masonry work or engineered lumber headers.
Popular design ideas that add value without dramatically increasing cost include built-in window seats with storage beneath, floating shelves in the alcove, and custom bay seating arrangements that turn the projection into a functional room feature. Interior trim choices, from craftsman-style casings to clean modern profiles, also shape the finished look at relatively low cost.
Maintenance is a long-term cost factor. uPVC requires the least upkeep. Wood-clad units need periodic painting or staining. The exterior roof above the bay should be inspected annually for flashing gaps and shingle wear, since this is where most water problems originate.
Key takeaways
A successful bay window installation depends equally on structural preparation, quality materials, and precise sealing. Skipping any one of these three elements leads to failures that cost more to fix than the original project.
| Point | Details |
|---|---|
| Installation is structural work | Bay windows require new framing, headers, and a custom roof, not just a window swap. |
| Material choice drives lifespan | Fiberglass lasts 30–50+ years; uPVC costs less upfront but may need earlier replacement. |
| Weight demands professional help | Units weigh up to 150 lbs and require at least two people for safe installation. |
| Flashing prevents water damage | Improper sealing at the bay roof joint is the leading cause of hidden wall rot. |
| Permits may be required | New front-facing bay windows often need local planning approval before work begins. |
Ready to add a bay window? bruin corp of attleboro can help
If this guide has confirmed that a bay window is the right move for your home, the next step is talking to an installer who has done this work hundreds of times. Bruin Corp of Attleboro has completed over 11,000 home improvement projects across Massachusetts and Rhode Island, with a team that specializes in bay and bow window installation and understands the structural demands these projects require.

Bruin Corp of Attleboro handles everything from site assessment and permit guidance to custom framing, professional installation, and finished trim work. Their financing options make it possible to move forward without waiting years to save the full project cost. Visit Bruin Corp to request a free estimate and get a clear picture of what your specific project will involve.
FAQ
What does bay window installation involve?
Bay window installation involves expanding a wall opening, installing structural framing and a load-bearing header, hoisting the window unit into place, building a custom roof above the projection, and sealing all edges with flashing. It is a structural project, not a standard window replacement.
How long does it take to install a bay window?
A professional bay window installation typically takes two to five days, depending on wall type, structural complexity, and whether custom roofing or masonry work is required.
Can i install a bay window myself?
DIY bay window installation is possible on non-load-bearing walls for experienced builders, but most homeowners should hire a professional. The unit weighs up to 150 pounds, the framing is complex, and improper flashing causes hidden water damage that is expensive to repair.
Do i need a permit for a bay window?
New front-facing bay windows usually require a building permit, and homes in historic or conservation districts may need additional planning approval. A like-for-like replacement of an existing bay window often does not require a permit, but always confirm with your local building department first.
What is the difference between a bay window and a bow window?
A bay window uses three panels set at angles (typically 30 or 45 degrees) to create a deep interior alcove. A bow window uses four or more equal panels in a gentle curve for a more panoramic view. Bay windows create more defined interior space; bow windows admit more total light.
Recommended
- Window Installation Best Practices for Lasting Results
- Bay & Bow Window Installation in RI & MA | Custom Replacement Windows | Bruin Corp.
- Summer Is on Its Way! Prepare Your Windows With These Easy Tips! – Bruin Corporation of Attleboro
- Why Should I Replace My Home Windows? – Bruin Corporation of Attleboro